A DC Photographer’s Tips for a Smooth and Successful Event
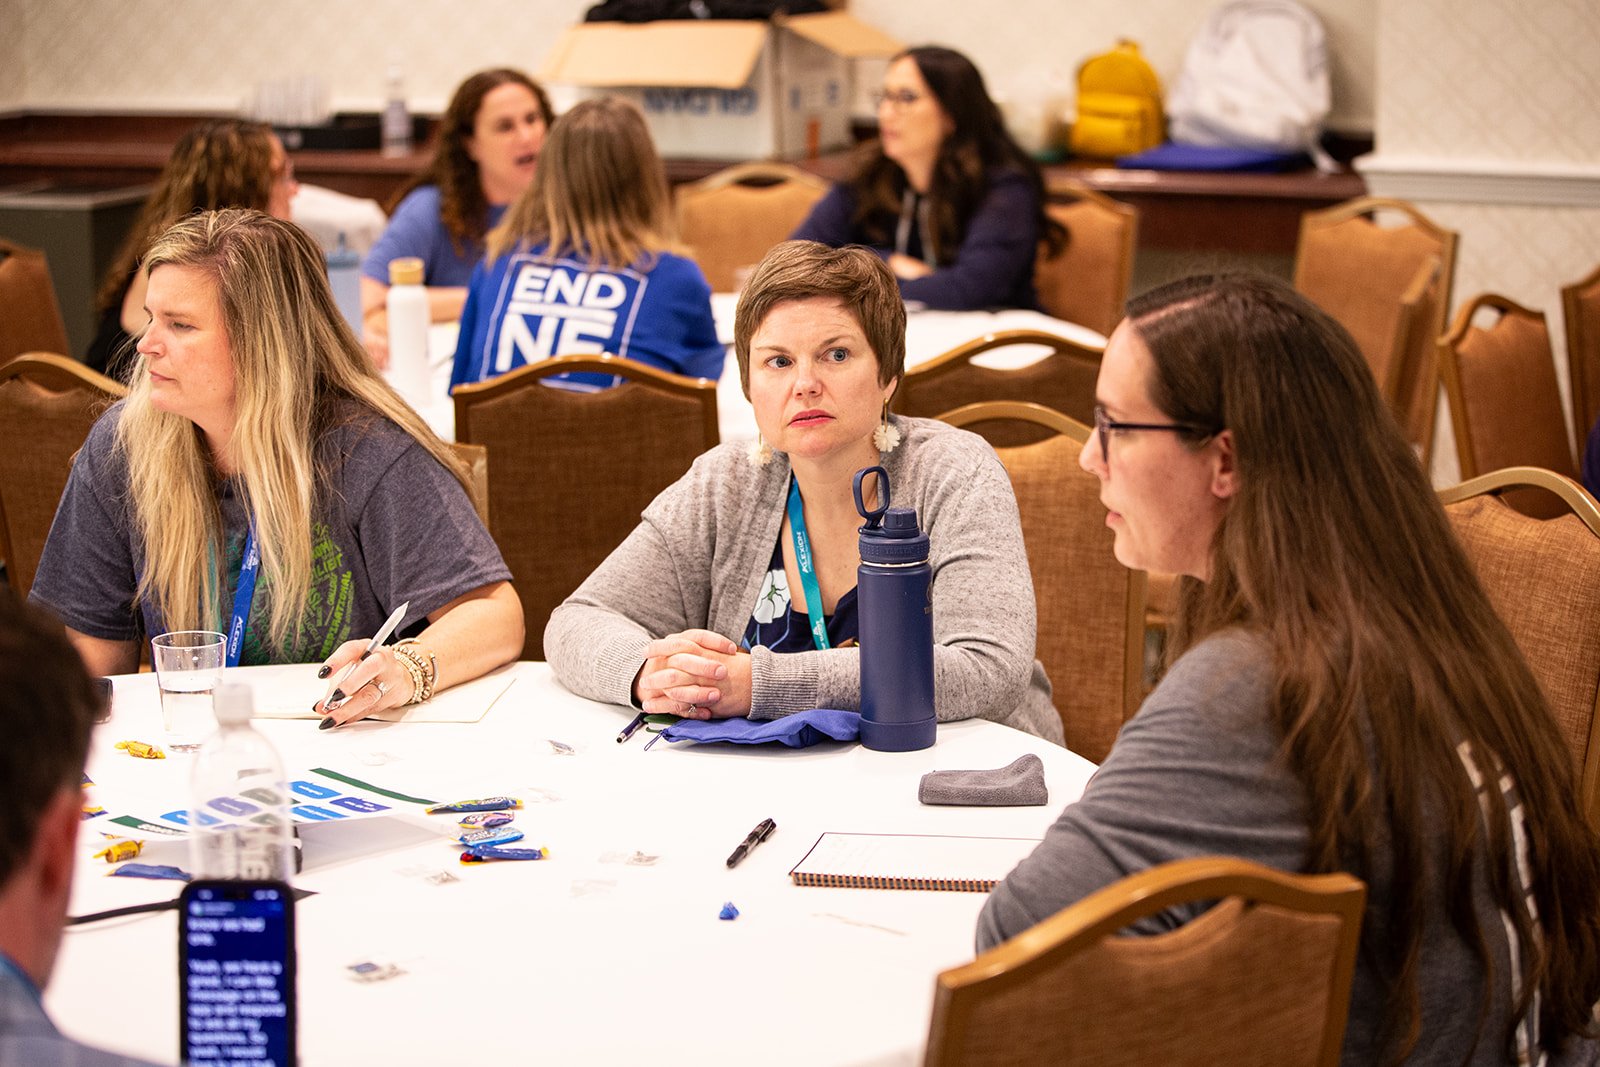
As a seasoned event photographer in Washington, DC, I’ve had the privilege of capturing everything from elegant galas and corporate conferences to community festivals, fundraisers, and university receptions. While each event is unique, one constant remains: thoughtful planning behind the scenes always leads to stronger visuals and a smoother experience for guests and vendors alike.
Over the years, I’ve picked up a range of practical tips—often small but impactful adjustments—that can make a noticeable difference in how your event runs and how it’s remembered. Whether you’re an event planner, communications director, or just someone helping put together a one-time gathering, these are my top suggestions to help your event go off without a hitch and yield beautiful, usable photos.
1. Use Media Release Forms Early and Clearly
If there’s even a chance that event photos will be used in future marketing—whether in newsletters, annual reports, social media, or websites—it’s essential to get media release consent from attendees. The best time to do this is during the registration process, either by including a release checkbox in your online RSVP form or by incorporating it into printed sign-in sheets at the check-in desk.
Too often, organizations wait until after the event to secure photo permissions, which can lead to complications or missed opportunities to share great moments. And while most public events operate under an implied consent model (whereby attendees understand their image may be captured), it’s always safer to be explicit—especially for private events, those involving children, or any setting with heightened privacy concerns.
Pro tip: Keep a few extra printed release forms at the registration table for walk-ins or last-minute additions to your guest list. And make sure your photographer knows who hasn’t signed—so they can avoid close-up shots of those individuals.
2. Mark the Stage for Award Photos
There’s nothing worse than nailing the perfect lighting and angle—only for the award recipient to stand too far to the side or block the signage behind them. During fast-moving awards ceremonies or graduation-style events, honorees often feel unsure about where exactly to stand. This is especially true if there’s no rehearsal.
One simple fix: place a piece of discreet gaffer’s tape on the stage floor where you’d like people to stand. Choose a color that contrasts with the stage but won’t show up too much in photos. You can even have multiple markers if different groups or individuals will be featured throughout the program.
Why it matters: Consistently framed and well-lit photos of honorees and presenters not only look better—they also save time and effort in post-production and improve the likelihood that images will be usable in future materials.
3. Consider Live Editing for Real-Time Impact
In today’s fast-paced digital world, your audience doesn’t want to wait a week to see event photos—especially if the event is meant to generate buzz or celebrate a milestone. That’s where live editing comes in.
When you add live editing to your photography package, your photographer either brings a second editor or quickly processes selects during quiet moments at the event. Within minutes, your team receives high-quality, branded images that can be posted on social platforms like Instagram, X (Twitter), Facebook, or LinkedIn.
Examples of when this works well:
• Product launches or brand activations
• Conferences with keynote speakers or panels
• Fundraisers or galas with real-time donation tracking
• Community events or rallies
• Media-covered events where press-ready images are needed ASAP
Pro tip: Pair live editing with a branded step-and-repeat or photo booth so guests can walk away with a polished image and your hashtag or logo in the background. It increases your event’s visibility tenfold.

4. Upgrade Your Step-and-Repeat: Bigger and Better
The humble step-and-repeat backdrop is one of the most powerful tools for branding at an event—but it’s also one of the most overlooked. Too often, organizers opt for the smallest or cheapest option, resulting in a backdrop that only fits one or two people, or worse, looks wrinkled, shiny, or poorly lit.
Here’s how to do it right:
• Size matters: Choose a step-and-repeat that’s at least 8x10 feet. If you expect group shots, consider 10x12 or larger. This ensures everyone fits comfortably within the frame.
• Fabric beats vinyl: Cloth backdrops can be steamed on-site, giving a clean, high-end look. Vinyl or plastic options tend to reflect flash and are harder to smooth out.
• Lighting counts: Ask your photographer in advance if they’ll be bringing lighting for the step-and-repeat. Even in well-lit rooms, proper lighting ensures faces are evenly illuminated and logos are readable.
Bonus tip: Place the step-and-repeat in a high-traffic but well-lit area (not in front of glass windows or in dim hallways). And make sure the event host or VIPs get photographed there before the crowd shows up.
5. Dress the Media Team to Blend In
If your event features branded T-shirts—say for a charity run, school reunion, or large-scale volunteer effort—include your photo and video crew in that branding. Providing them with the same shirts helps them blend in, creates visual consistency in crowd shots, and subtly reinforces your organization’s presence.
Why is this important? In candid or behind-the-scenes images, your photographers will likely show up in the background at some point. It’s a small but powerful touch when everyone—including the media crew—is dressed in line with the event’s identity.
Plus, branded shirts can help guests identify who to ask for photos or help, especially at larger events.

6. Plan Ahead for Image Distribution
One of the most common questions I hear after an event is: “Where can I see the photos?” If you want to keep attendees engaged post-event—or encourage them to share photos on their own channels—make sure there’s a clear plan for how images will be distributed.
Here are a few popular options:
• Event hashtag: Promote a unique hashtag (and make sure your photographer uses it when delivering images for social).
• Designated website or gallery: Create a password-protected gallery where guests can download images.
• QR codes: Display printed signs with QR codes that link directly to the photo gallery.
• Follow-up email: Send a thank-you email a day or two after the event with a link to the photos and a reminder of your next event or initiative.
Pro tip: Be clear about what kinds of photos will be shared. Are you distributing only candids? Red carpet shots? Will group photos be available for download? Setting expectations avoids confusion later.
Final Thoughts: The Little Things Make the Biggest Impact
Great photography does more than just capture moments—it tells the story of your event, reflects your organization’s values, and creates shareable content that lasts far beyond the final toast or closing remarks.
By thinking ahead about small but strategic details—like media releases, lighting, backdrops, and how photos will be used—you’re setting your event up for success both in person and in photos.
If you’re planning an event in Washington, DC (or anywhere else), and want professional photography that’s equal parts efficient, creative, and reliable—I’d love to chat. Whether it’s a corporate gala, political fundraiser, educational panel, or private celebration, I bring a thoughtful eye and collaborative spirit to every assignment.
Let’s make your next event not just beautiful, but beautifully documented.